I have been asked many times "how do you tie those streamers", using so many feathers and keeping them together. Just in my last post I was asked do you glue them as Carrie Stevens did, and the answer is yes.
The style of building a streamer wing that I use is known as the Stevens Method. This method is described very well in the Hilyard book and is the best way of gaining control of so many feathers and being able to tie them to the hook in such a manner as to not have a huge head.
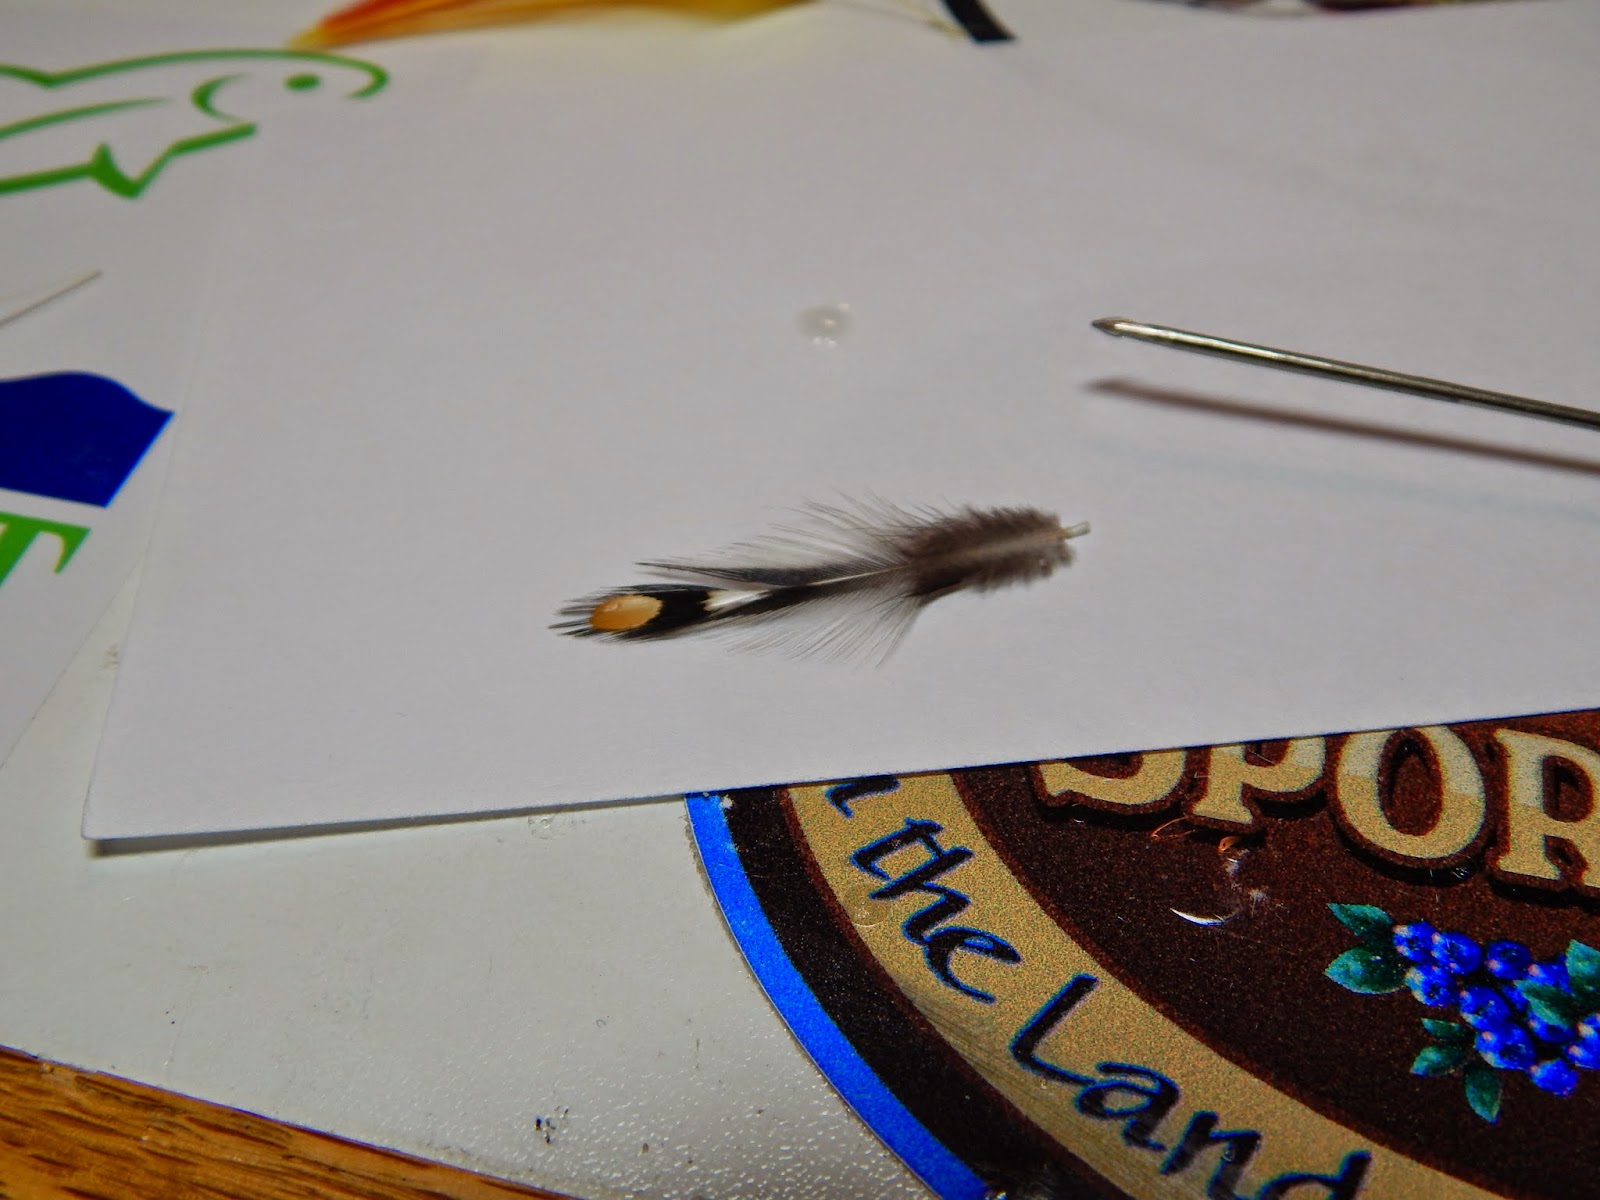
In photo 1 feathers are selected from saddles. One feather from the right and left side of the saddle, this way the natural shape of the feather will form to the hook.
The fluffy marabou is then stripped from the feathers and they are sized to the hook being used. In this case it's a Mustad 3665A size 4.
The glue used is really a head finish called Cellire, an English product. Others can be used such as Hansens Hard as Nails or your particular selection.
Only one small drop is needed to complete the process. Placed on a index card and applied with a bodkin.
A tiny bit is placed on the feather, one must be careful not to apply to much cement here causing it to run and make a total mess.
The second feather is placed on the cement containing feather and pressure is applied to set the cement.
Then a feather selected as the shoulder and prepared as the others. The feather used here is a Silver Pheasant. Cement is applied to the previous feathers and the shoulder feather is cemented.
We have now cemented two wing feathers and the shoulder feather.
A Jungle Cock cape is where we will select a feather for our cheek.
After choosing the right size JC nail I remove the fluff and apply just a small amount of cement to the back of the feather. This will enable the feather to fit tightly against the shoulder and make the fly more durable.
A complete featherwing assembly. This is one side of the streamer. When tied onto the hook along with the other completed wing you'll have tied a beautiful Rangeley streamer using Carrie Stevens method of wing construction.


Nice tutorial Alan.
ReplyDeleteApache Trout,
DeleteThanks.
John you going to give the Gray Ghost a tie?
Appreciate your comment buddy.
Awesome instructions although way, way above my pay grade.
ReplyDeleteMark Kautz,
DeleteThanks.
I think with some practice you'll do OK.
You are awesome, Alan. Thanks for demonstrating this unique technique. Like Mark, I have not gone there with my fly tying, yet..............................................
ReplyDeletePond Stalker,
DeleteThanks.
Mel Mrs Stevens was quite a tyer and her methods were ideally suited to these flies.
I use Elmers rubber cement....Nice tutorial.
ReplyDeleteEunan
Eunan,
DeleteThanks.
There you go, Elmers, good choice.
40 years tying and it's new to me, amazing thanks.
ReplyDeleteFlyfisherman. Richard,
DeleteThanks.
You see we can learn something new everyday.
She was quite the fly tyer.
Alan, I have admired the Stevens streamers for a while. I have not yet tried my hand at one but intend to - thank you for the tutorial. Great blog!
ReplyDeleteJim
James Muehlbach,
DeleteThanks.
Her patterns are enjoyable to tie and also will take some nice fish.
Send me a photo of one of your Stevens streamer..love to see it.
As I have said, so many times…why didn't I think of that? So simple yet so effective.
ReplyDeletessj,
DeleteThanks.
We always think if it's not complicated then it can't be worthwhile..think again.
Ah, very helpful Alan. Will try it. Thank you.
ReplyDeleteWalt Franklin,
DeleteThanks.
I'd like to see the streamer on your blog.
If I ever get the patience to try this out, you'll be the first one to know Alan. Nice, clear explanation...thanks.
ReplyDeleteAlan
ReplyDeleteAfter reading and viewing the images in this post makes me appreciate your work at the bench even more. Great post!